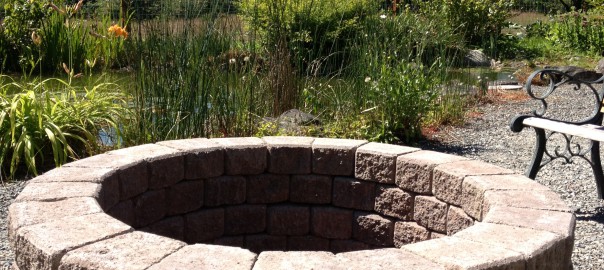
Do-it-Herselfer – Firepit!
Build Time: 6hrs 45mins
Cost: $640.14 (labor & materials)
Labor Day is approaching, and I’m reflecting on my labor intensive firepit project. (Yes, I built the firepit shown above. Gorgeous!) It was both easy, and really laborous. I loved it, and can’t wait to do it again. In fact, I’m planning on building one here at our house as a gift for my husband, and also in a rehab in Covington, WA I have my eye on. If this is something you’re also interested in, contact our remodeling division for a quote.
Here are my do-it-herself tips for you:
Awesome Tip #1 – Kit or Custom?
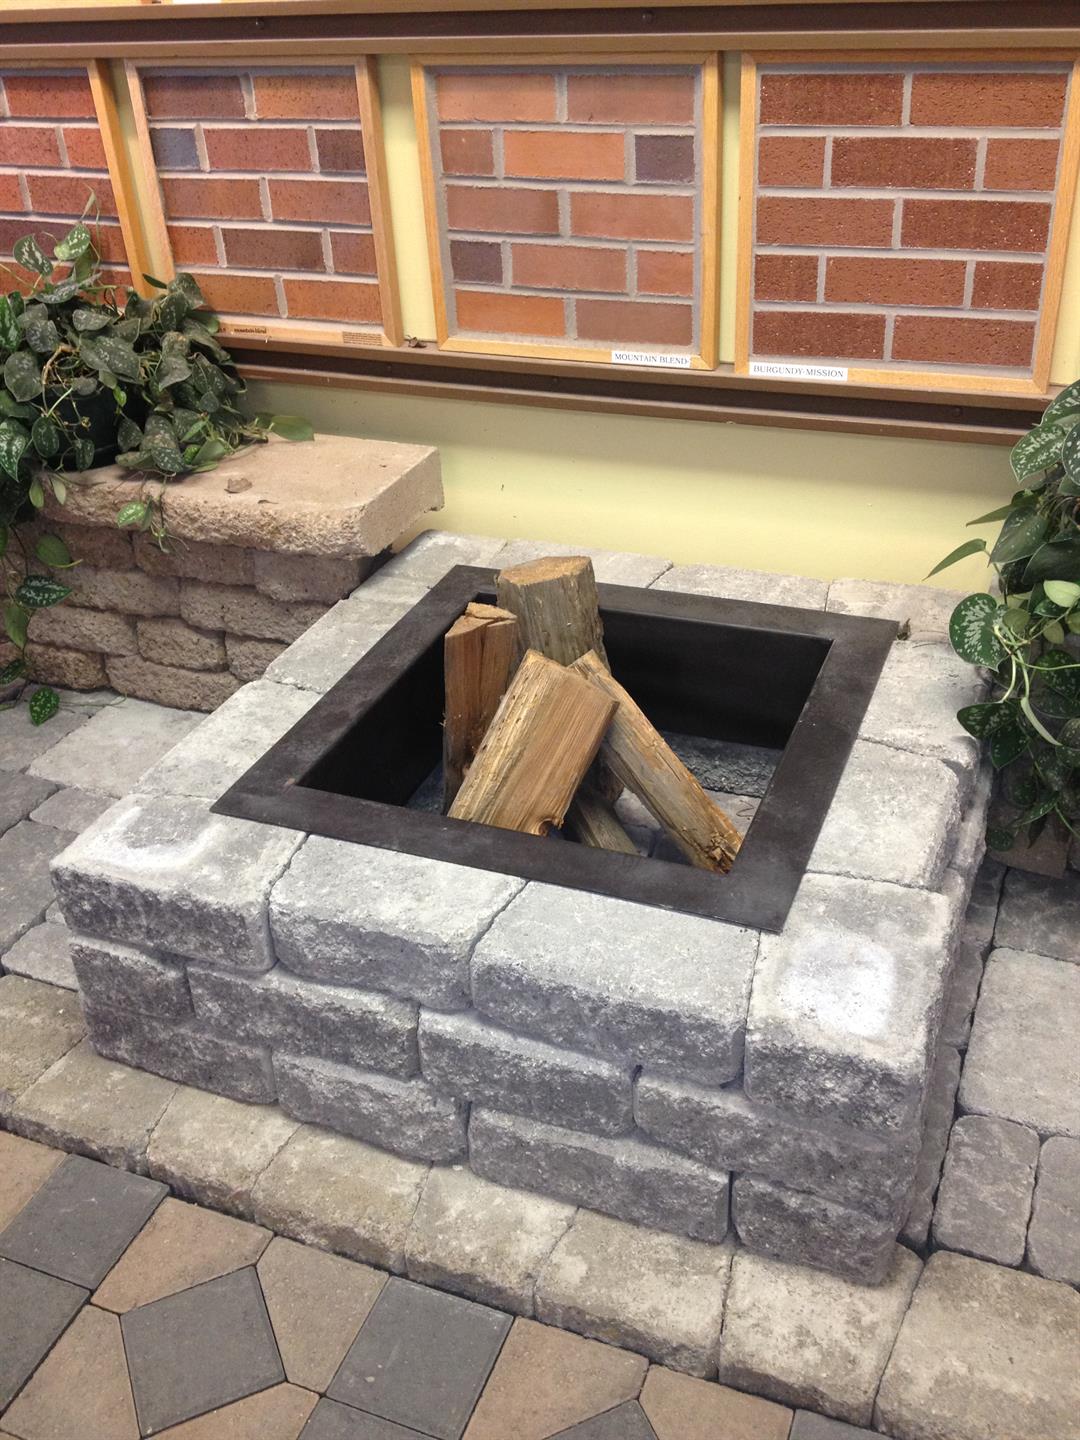 Home Depot, Lowe’s, and our local mason supplier, Mutual Materials ,sell round and square kits. Some come with metal inserts, others don’t. Most of the kits run on the smaller side. Have a size and shape in mind before shopping around by searching on the internet and browsing pictures. Measure the area you have in mind so that you have a rough idea what size you want it to be. Then when you’re looking at options you’ll know if the kit is right for you or if you want to order custom blocks.
Awesome Tip #2 – Before Digging, Mock-up the Location
By drawing in the dirt, or laying a first course to gauge the location, you’ll be able to center it in the space or shift it to accommodate any obstacles or other considerations before you start to dig. You want to get an idea of where you are putting it first so that you can make any adjustments BEFORE you start digging. For a circle, you can use two sticks and a string, like the handle of your shovel and a stick. With your string the length of the radius, attach one end to the handle, and the other to the stick. Pull taunt and drag the stick to make a circle.
Awesome Tip #3 – Tool Tips
A pick axe is glorious! I’m so glad I listened to my husband to bring a pick axe along. It worked wonders at loosening the clay and compacted soil into shovel-sized bits. And I thank Steve Solomon’s Gardening When It Counts book for teaching me about keeping my shovel sharp with a file, and the right shovel to use. I recommend a combination shovel, with a handle length that is appropriate for your height.
Awesome Tip #4 – Dig Wider
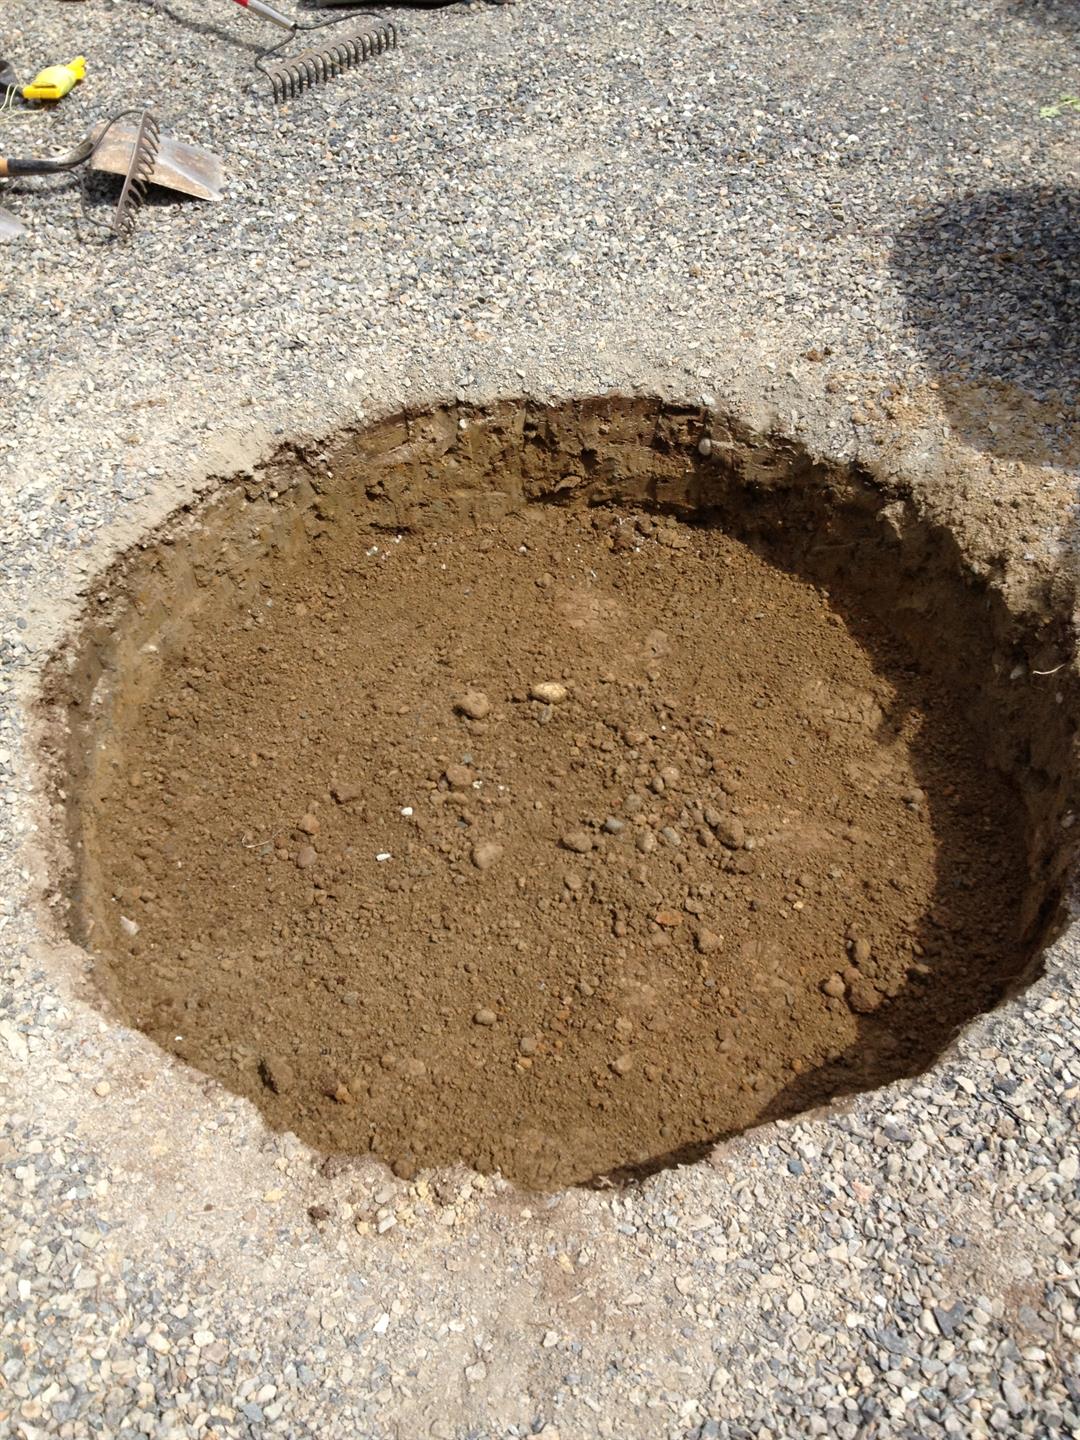
Aim to dig 2-3 inches wider than the dimensions of your fire pit. You’ll want the space for making adjustments to get your first course laid correctly. When I dug this one exactly the circumference of the firepit, somehow it was too tight. Though by removing one block I was able to get it to fit and had the added benefit of creating venting for the fire, by the time I got to the top row, I was chiselling the last block to get it to fit, (though it may have also been a mistake to make it one row taller than the kit showed).
Awesome Tip #5 – No Adhesive
Instructions online talk about running a line of adhesive to attach the rows together. I used blocks designed with tongue-and-groove so that they lock together. It’s cheaper, one less step, no mess, and should anyone ever want to make changes to the fire pit, they can.
Awesome Tip #6 – No Gym Time!
It was incredibly hard work digging the hole and then laying the blocks – and on a hot day. I have a huge respect for ditch/grave diggers, and a ripping back and shoulders now too. Next time, I will dig one day, and lay the blocks the next day. And there will be a next time, I absolutely loved this project!