Tips on Remodeling Tub Showers
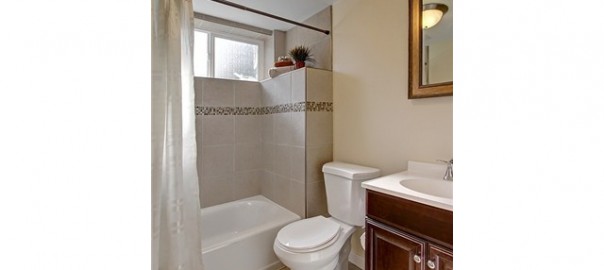
Awesome Tip #1 – When you have your plumbing exposed, take the opportunity to raise the shower head higher!
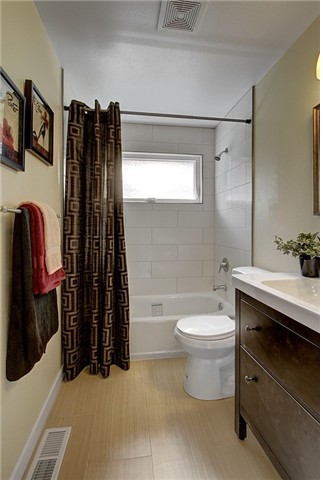
Depending on the year your house was built, the chances are pretty good that your shower head is too low, or that you took great care of your kids and they grew like weeds. Raising the shower heads was an easy upgrade we did on our Mountlake Terrace remodel.
Awesome Tip #2 – Pick out your final hardware first!
It’s a terrible surprise to find out after the wall is closed up and tiled that the gorgeous hardware you picked out wasn’t given to the plumber in advance and now he can’t use it. Ask me how I know. Why didn’t it work? First, when he was told (not shown) that it needed to mix the hot and cold, it was an extra cost (change order) to change the existing separate hot and cold taps. Second, the mixer he decided to use was American Standard, but the hardware he had never seen or heard about (or maybe chose to ignore) was Pfister. American Standard’s hot/cold mixer inside the wall does not fit Pfister outside of the wall. Third, I tried to keep the American Standard hot/cold mixer handle, but put on the gorgeous tub spout and shower head from the Pfister set, but the pipe needed to be threaded, and wasn’t.
Awesome Tip #3 – All tubs are the same depth.
Ok, not true. Want a deep soaking tub? Take a moment to pull up the specifications and find the information or diagram that shows the distance from the drain to the overflow. That’s how deep you can actually fill a tub if you wanted to, right? You may be surprised that not all 17″, 18″, 19″… tubs are the same. You might just be climbing over a higher wall.